HOZO Room Guide
Kitchen Island Ceiling Guide
Plan the island as a working surface first and a focal point second. This guide turns the island length, ceiling height and sightlines into a practical lighting layout.
Good island lighting makes preparation comfortable without blocking the view across the kitchen. Start by measuring the worktop and ceiling, then decide whether the fixture should provide task light, ambient light or both. All dimensions below are starting ranges and must be adjusted for the shade, light source and people using the room.
01 / Measure first
Build a lighting brief from the island
Record the island length, width and finished height, plus the ceiling height above it. Mark the sink, hob, seating, extraction hood, ceiling joints and any upper cabinets. The most decorative position is not always the best working position.
Task light
Prioritise a clear beam over preparation and washing zones. Avoid a bright exposed source at seated eye level.
Ambient light
Use a broader shade, diffused source or separate ceiling lights to soften the room around the island.
02 / Vertical position
Set height before cable length
Begin with the lowest point of the pendant around 75-90 cm above the worktop. Raise it when the shade is wide, opaque or close to eye level; lower it only when glare remains controlled and sightlines stay open.
| Condition | Adjustment | Reason |
|---|---|---|
| Low ceiling | Use a shorter drop, shallow pendant, track or flush light | Preserves openness and headroom |
| High ceiling | Keep the light near the island rather than the ceiling | Maintains useful task light |
| Wide opaque shade | Raise slightly and add ambient ceiling light | Reduces the visual barrier |
| Clear glass shade | Control lamp brightness and viewing angle | Limits direct glare |
Spacing between pendants
For medium pendants, 60-80 cm from centre to centre is a practical starting range. Leave roughly 20-30 cm from the island ends to the outside edge of the nearest shade. Large shades need more space; small tubes can sit closer together.
03 / One, two or three
Choose quantity from coverage, not a slogan
| Island length | Starting layout | Check before deciding |
|---|---|---|
| Under 140 cm | One broad pendant or compact linear light | Shade diameter and seating position |
| 140-220 cm | Two medium pendants or one linear fixture | Even coverage over work zones |
| Over 220 cm | Three small pendants, two large pendants or a long linear fixture | End clearances and ceiling points |
These ranges are visual planning aids, not mandatory rules. Use the actual beam spread and lumen output to confirm that the worktop will be evenly lit.
Mark the shade edges
Use removable tape on the worktop to show where each shade begins and ends.
Hang paper templates
Cut full-size circles or boxes and suspend them at the planned height with string.
Check every seat
Make sure faces, screens and sightlines remain clear from both sitting and standing positions.
04 / Colour and comfort
Make food, surfaces and faces look natural
For most residential kitchens, 2700-3500 K balances warmth with task clarity. A colour rendering index of 90 or higher helps food and finishes read more naturally. Use diffusers or shielded sources when the lamp is visible at eye level.
Plan in layers
Combine island pendants with ceiling or under-cabinet light. This avoids asking decorative shades to provide every lumen the room needs.
Check dimming
Verify the exact lamp, driver and dimmer combination on the product specification. A dimmable label on one component does not guarantee the whole system is compatible.
06 / FAQ
Common island questions
Must I use three pendants?
No. Three works only when the island length and shade size support it. Two larger pendants or one linear fixture can give cleaner coverage.
Should pendants align with stools?
Usually align them to the island and work zones, not individual stools. Stool positions can change and do not necessarily match the best light distribution.
What if the ceiling is sloped?
Choose a fixture whose canopy and suspension system are explicitly approved for the slope. Confirm this on the exact product page or with support before ordering.
Who should install the pendants?
Fixed-wired ceiling lighting should be installed by a qualified electrician or competent professional in line with local requirements and the supplied instructions.
Pendant forms currently featured on the homepage
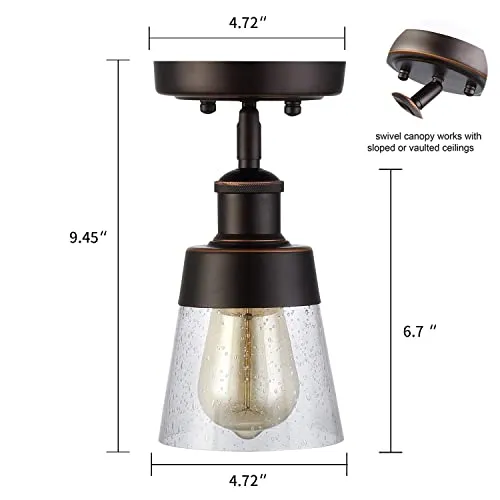
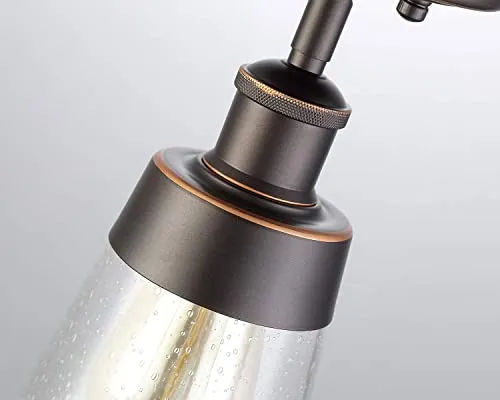
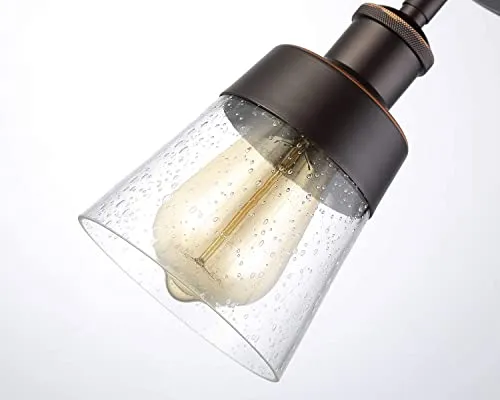
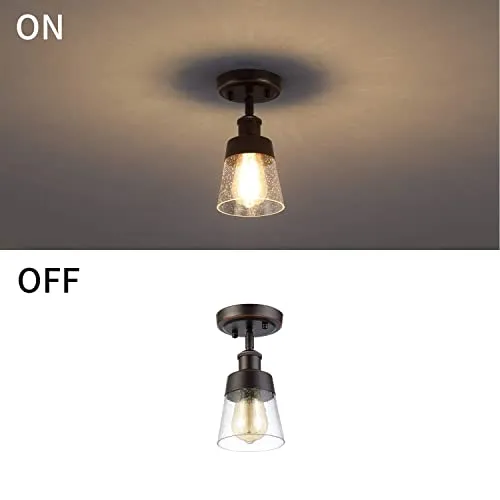
Use these products to compare shade width, transparency and visual weight. Product options can change; verify dimensions, light source and dimming on the selected variant.


Caspian Ribbed Glass Pendant
A coloured glass option for balancing task and ambient light.
View product →Compare pendant silhouettes
Filter by diameter and overall height, then confirm the exact cable range and light source on the product page.