How to Layer Your Home Lighting Perfectly Around a Nordic Minimalist Ceiling Light
Direct Answer: To perfectly layer your home lighting around a Nordic minimalist ceiling light, you must establish the ceiling light as your primary ambient source—providing about 60% of the room's total illumination. From there, you layer in task lighting (like a desk lamp) and accent lighting (like a wall sconce) positioned at least 1.5 meters away from the center light. Ensure all light sources share a matching color temperature (within a 500K variance) and coordinate the secondary lamp materials with the finishes of your main ceiling fixture.
Many interior design guides dismiss ceiling lights, favoring complex recessed lighting or dramatic chandeliers. But if you have standard ceiling heights and a single central wiring box, a beautifully designed Nordic minimalist ceiling light is not a compromise—it is a powerful aesthetic statement. This guide will walk you through exact measurements, sizing formulas, and material matching rules so you can build a multi-dimensional, perfectly layered lighting setup without completely tearing apart your ceiling.
Before You Start: What to Measure Before Buying
Before you add any lighting fixture to your cart, put down your phone, grab a tape measure, and collect the following core data. Without these numbers, you are buying blindly.
- Room Dimensions: Measure the exact length and width of your room in meters to calculate the total square footage. This directly dictates the diameter of your main ceiling fixture.
- Floor-to-Ceiling Height: Measure the exact clearance from the floor to the ceiling. If your ceiling is between 2.4 m and 2.8 m, large chandeliers will make the room feel cramped. You will need an ultra-thin ceiling fixture.
- Main Activities: Identify the three primary activities that happen in this room (e.g., watching TV, reading on the sofa, dining). These activities dictate where your secondary light layers will go.
- Budget Allocation: Set a strict ratio for your lighting budget. A professional rule of thumb is to allocate 60% of your budget to your main ceiling light (the focal point) and 40% to your supplementary floor or table lamps.
- Wiring Readiness: Check your ceiling to confirm the condition of the pre-existing electrical box. Check the walls to count how many available power outlets you have near your sofa or reading nooks.
Step 1: Confirm Core Needs: Mapping Your Lighting Layers
To layer lighting successfully, you must abandon the "one switch lights the whole room" mentality. A well-designed Nordic space uses a three-tier system. Grab a piece of paper, sketch your room layout, and assign these three layers:
1. Ambient Lighting (The Foundation)
This is the job of your central Nordic minimalist ceiling light. It provides a uniform, diffused base layer of light so you can navigate the room safely. It replaces the harsh, glaring "interrogation room" vibe of outdated dome lights with a broad, soft wash of illumination.
2. Task Lighting (The Functional Layer)
Look at the activities you listed in the preparation phase. Did you write down "reading" or "working"? Mark the exact spot on your floor plan where the armchair or desk sits. You must place a floor lamp or desk lamp here. The light should direct a focused beam downward exactly where you need it, operating independently of the main ceiling light.
3. Accent Lighting (The Atmosphere Layer)
This is where the famous Nordic "Hygge" feeling comes from. Do you have a textured brick wall, a favorite piece of art, or a large indoor plant? Mark these spots. You will need small, low-wattage wall sconces or portable rechargeable lamps to highlight these features, creating pockets of warmth in the corners of the room.
Step 2: Choose the Right Size and Type (The Math of Light)
A common mistake is buying a light fixture that looks beautiful online but is completely disproportionate to your living space. To get the perfect visual balance and adequate brightness, you must use a strict sizing formula.
The Ceiling Light Sizing Formula:
- For compact rooms under 15 square meters: You must choose a fixture with a diameter of roughly 75 cm. A 4-head or 5-head configuration drawing 48W to 60W is the absolute maximum you should install to prevent the ceiling from looking cluttered.
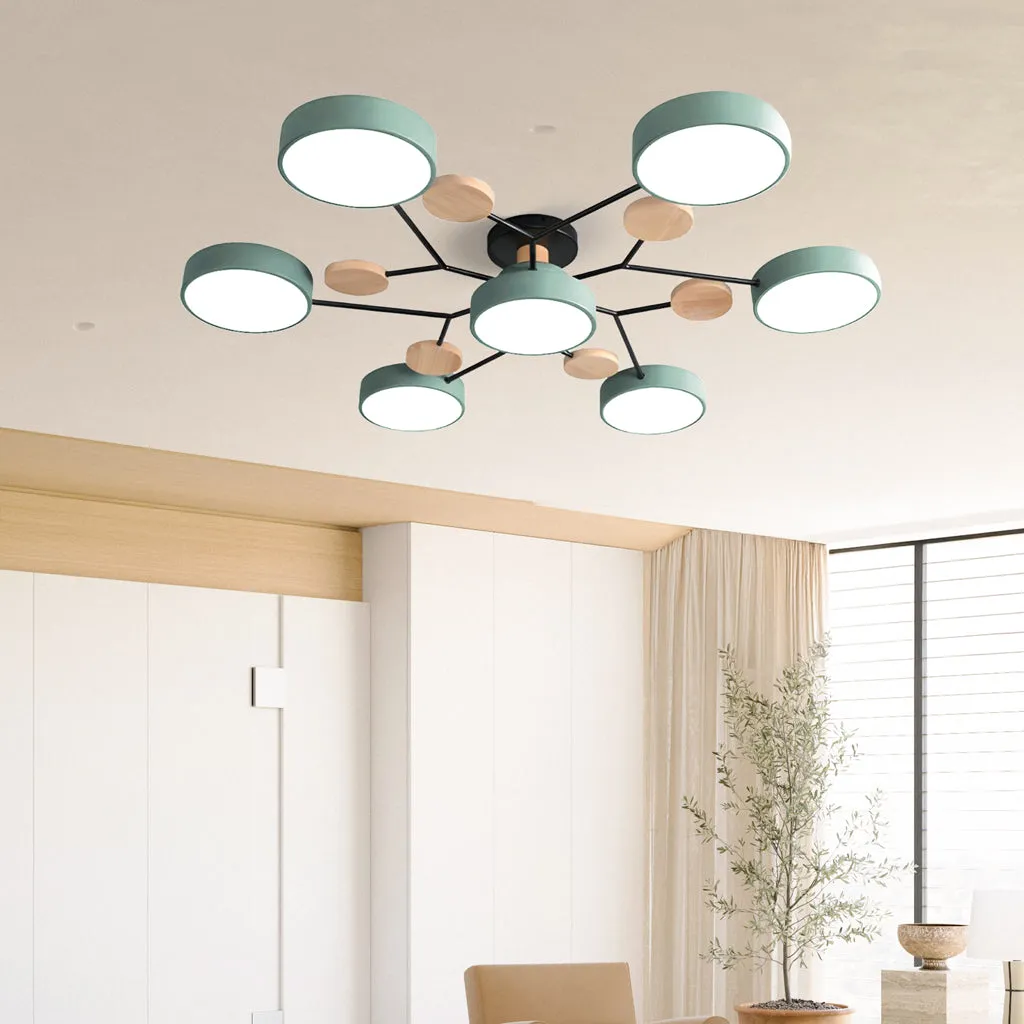
- For mid-to-large rooms between 15 and 25 square meters: You need a wider spread to prevent dark corners. Upgrade to a diameter of 95 cm. A 6-head or 7-head configuration pulling 72W to 84W will provide optimal ambient coverage without looking miniature against a large ceiling.
For a much deeper dive into correctly scaling your fixtures and calculating the exact light spread for complex layouts, check out our comprehensive resource on The ultimate sizing guide: Choosing the right Multi-head ceiling light for your room.
The Height Rule: For standard apartments with a ceiling height of 2.4 m to 2.8 m, you cannot afford a fixture that drops down 50 cm. You must look for an ultra-slim profile. A fixture with a height of exactly 15 cm will sit flush enough to preserve your vertical headroom while still offering a sculptural, 3D presence.
Step 3: Match Material and Style: The Finish Formula
Layering isn't just about light; it is about visual coherence. When the center of your room features a Nordic minimalist design—specifically one utilizing macaron color palettes and natural wood elements (like molecule branch designs)—your secondary lamps must speak the same design language.
If you are struggling with the overall palette of your room, we highly recommend reading Which color to choose? White, Green, or Gray for your Modern Macaron Ceiling Light. Once you have selected your main ceiling light finish, strictly follow this matching matrix for your floor and table lamps:
| Main Ceiling Light Finish | Recommended Secondary Lamp Materials (Do's) | Materials to Strictly Avoid (Don'ts) |
|---|---|---|
| Green Finish | Matte brass, natural light wood (ash or oak), warm white ceramics. | Highly polished chrome, cold stainless steel, overly industrial pipe fixtures. |
| White Finish | Matte black iron, natural wood, frosted white acrylic, or opal glass. | Ornate crystal drops, stained glass, or heavily distressed vintage metals. |
| Gray Finish | Brushed silver, concrete bases, terrazzo, or matte charcoal. | Overly saturated bright plastics (neon red, bright purple). |

Step 4: Check Installation and Usage Conditions (No Hardware Surprises)
Before finalizing your lighting plan, you must verify the physical and electrical realities of your space. A brilliant lighting design is useless if it trips your circuit breaker.
- Switch and Dimmer Compatibility: If your chosen multi-head LED fixture draws up to 84W at full capacity, ensure your wall switch is rated for the load. If the main fixture supports segmented color tuning or dimming, confirm whether it operates via a standard wall switch toggle sequence or requires a specific LED-compatible dimmer switch.
- The Outlet Audit: Take your lighting map from Step 1 and look at the walls. If you mapped out a task floor lamp next to your sofa, is there an electrical outlet directly behind the sofa? If the nearest outlet is three meters away, you will have an ugly wire running across your floor. If you lack outlets, pivot your strategy: use battery-operated rechargeable accent lamps instead of plug-in fixtures.
- Ceiling Load Capacity: While modern LED fixtures are generally lightweight, a wide 95 cm wooden and acrylic branch structure requires secure mounting. If you are drilling into solid concrete, standard masonry anchors are fine. If you are mounting on suspended drywall (gypsum board), you must use specialized toggle bolts to ensure the ceiling can bear the weight safely over time.
Step 5: Avoid Common Mistakes (The Decor-Ruining Errors)
Even with the right fixtures, improper execution will ruin the Nordic aesthetic. Compare your plan against these common lighting traps and eliminate them immediately.
Color Temperature Clash: You cannot have a 6000K crisp daylight bulb in your ceiling and a 2700K ultra-warm amber bulb in your floor lamp. This makes the room look chaotic and visually fragmented. Mandatory Rule: The color temperature of all layered lights in a single room must not vary by more than 500K. For a Nordic minimalist space, aim to unify all your fixtures at a clean, cozy 3500K to 4000K (neutral white). If you want to understand the exact science of kelvins for home decor, read How to choose the perfect color temperature (Warm vs. Cool) for your Nordic minimalist wooden ceiling light.
Over-Lighting the Space: The purpose of layering is distribution, not maximum brightness. If you install an 84W main ceiling fixture, do not pair it with a 40W floor lamp. When your 84W main light is on full blast, your accent lights should only draw 5W to 9W—just enough to wash a wall or highlight a plant. If everything is too bright, the space loses its depth and shadows, flattening the room entirely.
Final Checklist: Are You Ready to Buy?
Do not proceed to checkout until you can confidently check every single box below:
- I have measured my room's square footage and selected either a 75 cm or 95 cm diameter ceiling fixture accordingly.
- I have confirmed my ceiling height is suitable for a 15 cm high flush-mount fixture.
- I have selected a main fixture finish (Green, White, or Gray) that directly coordinates with my wall color and furniture.
- I have mapped out at least one task or accent light location and confirmed there is a power outlet nearby.
- I have committed to matching the color temperature (Kelvins) across my main light and all secondary lamps.
Recommended Products: The Ideal Core Light
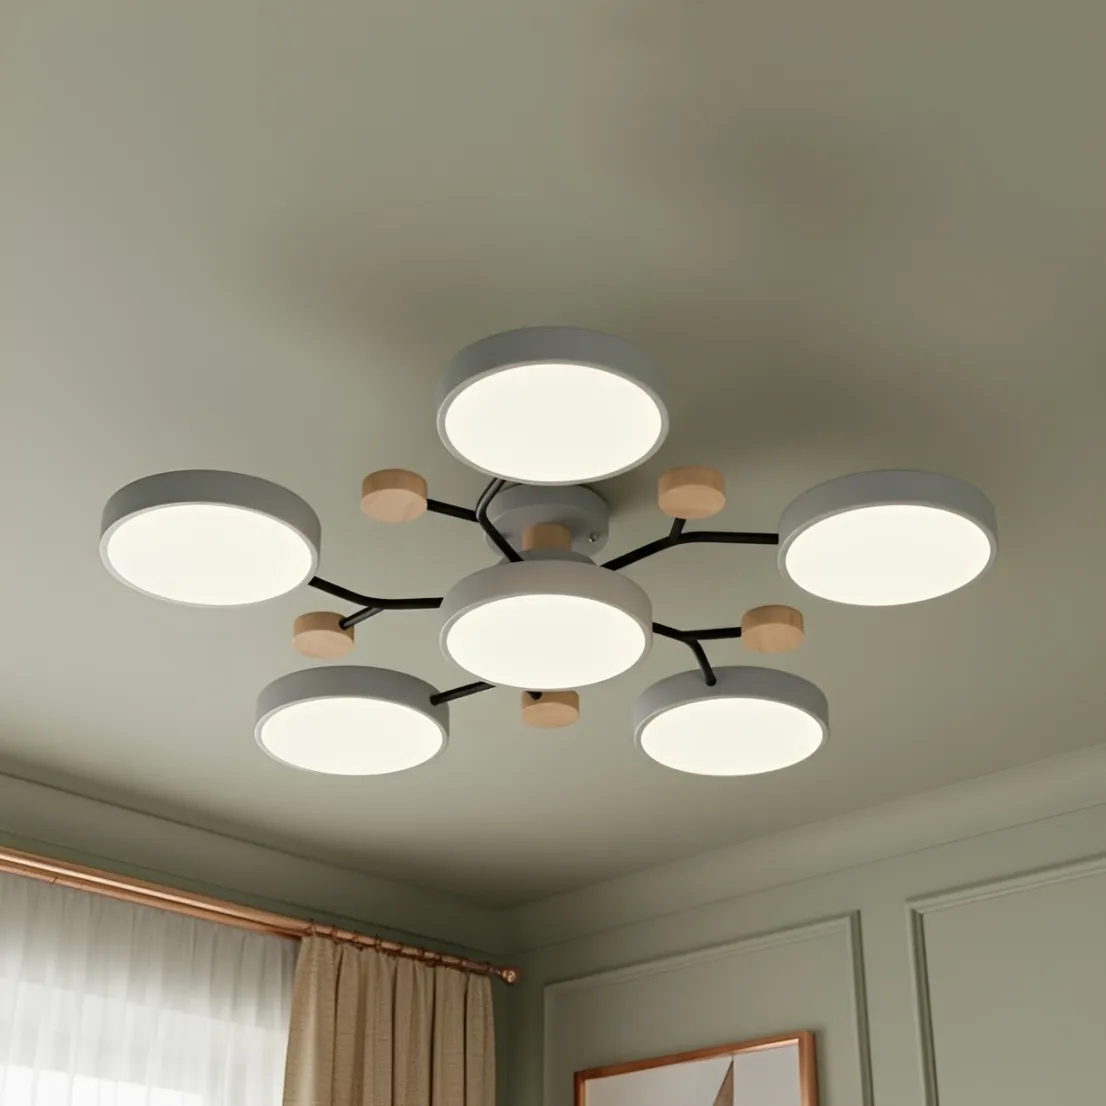
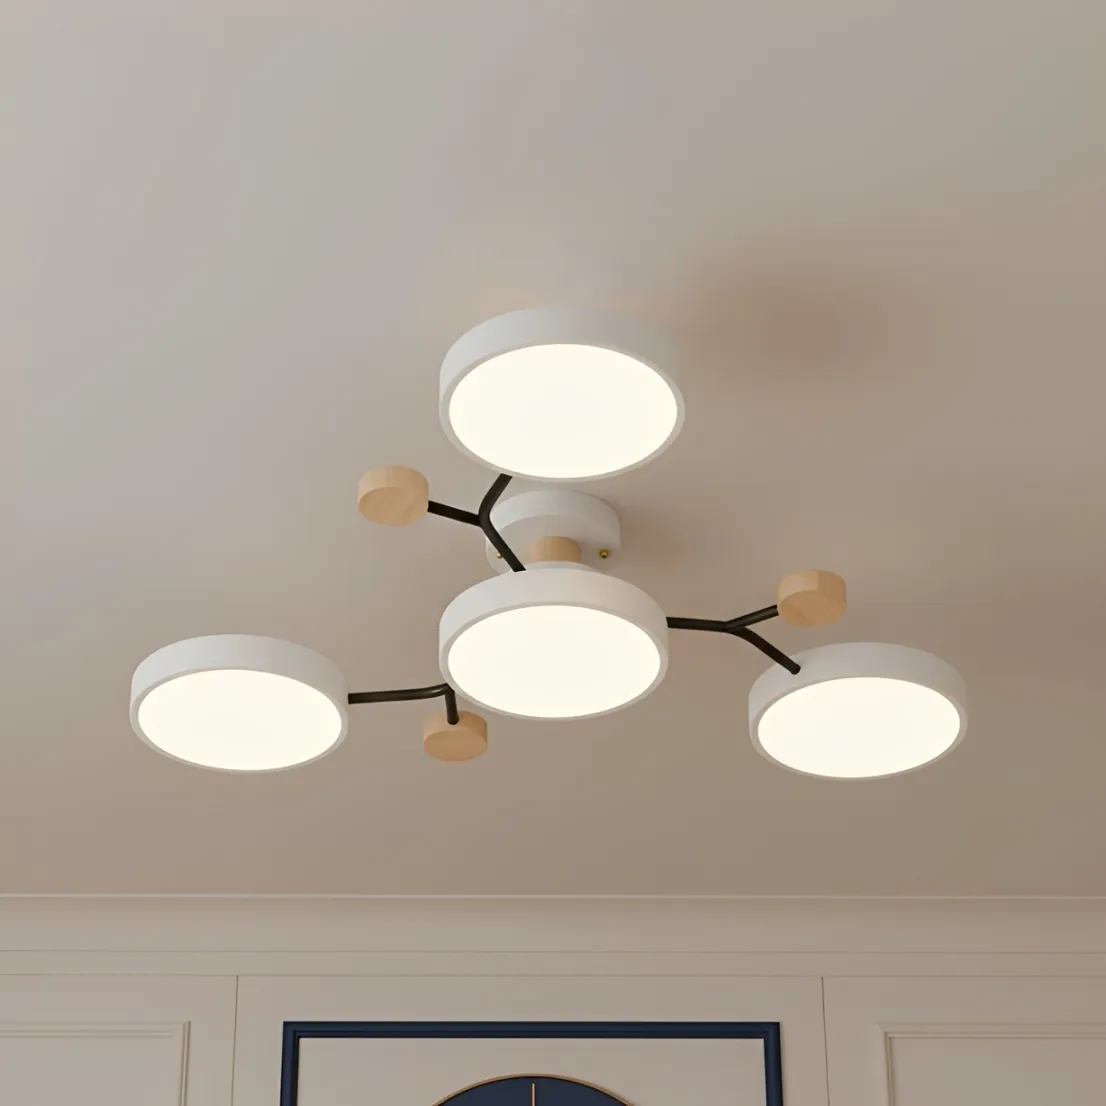
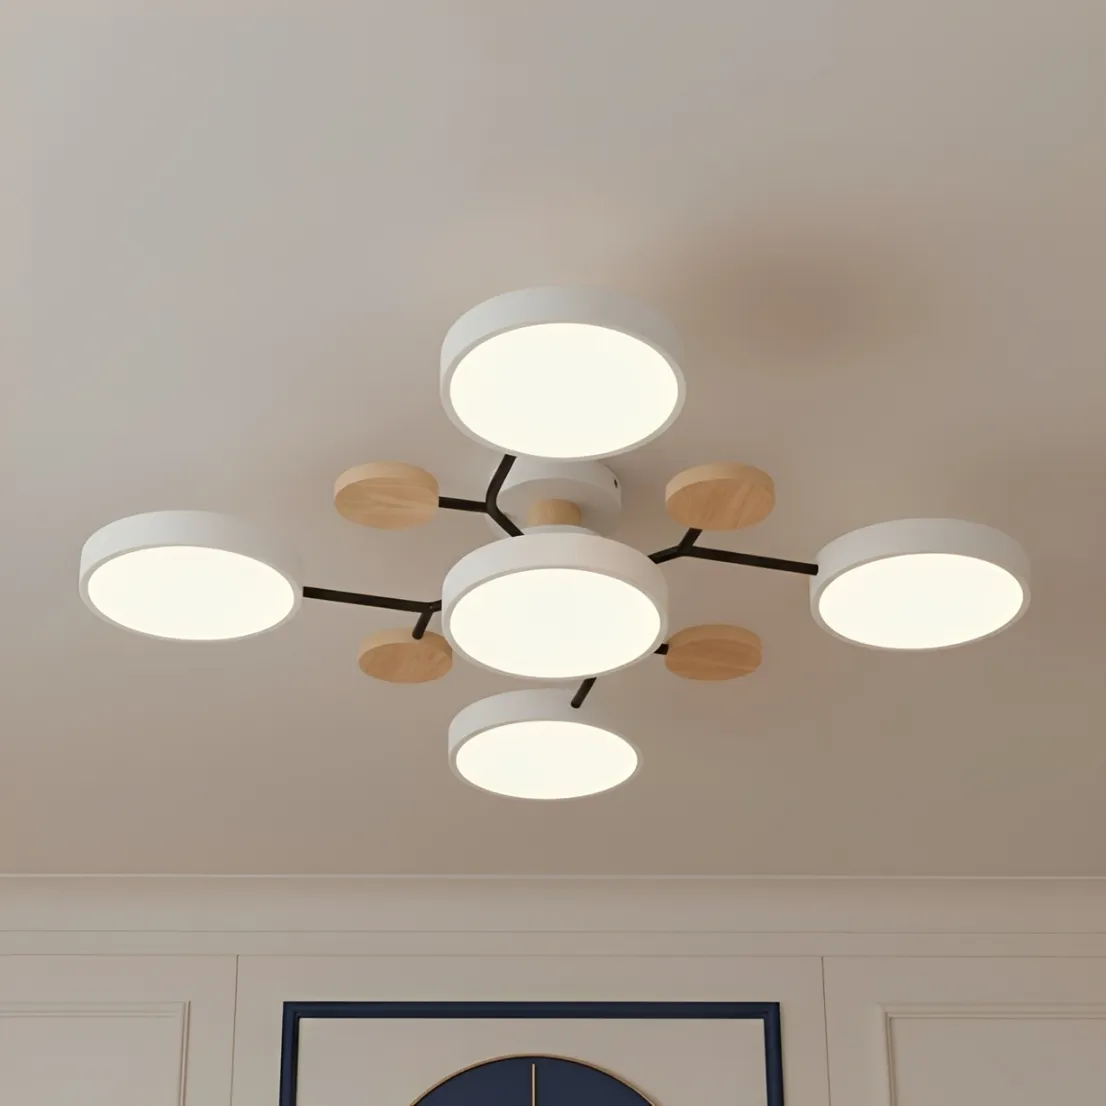
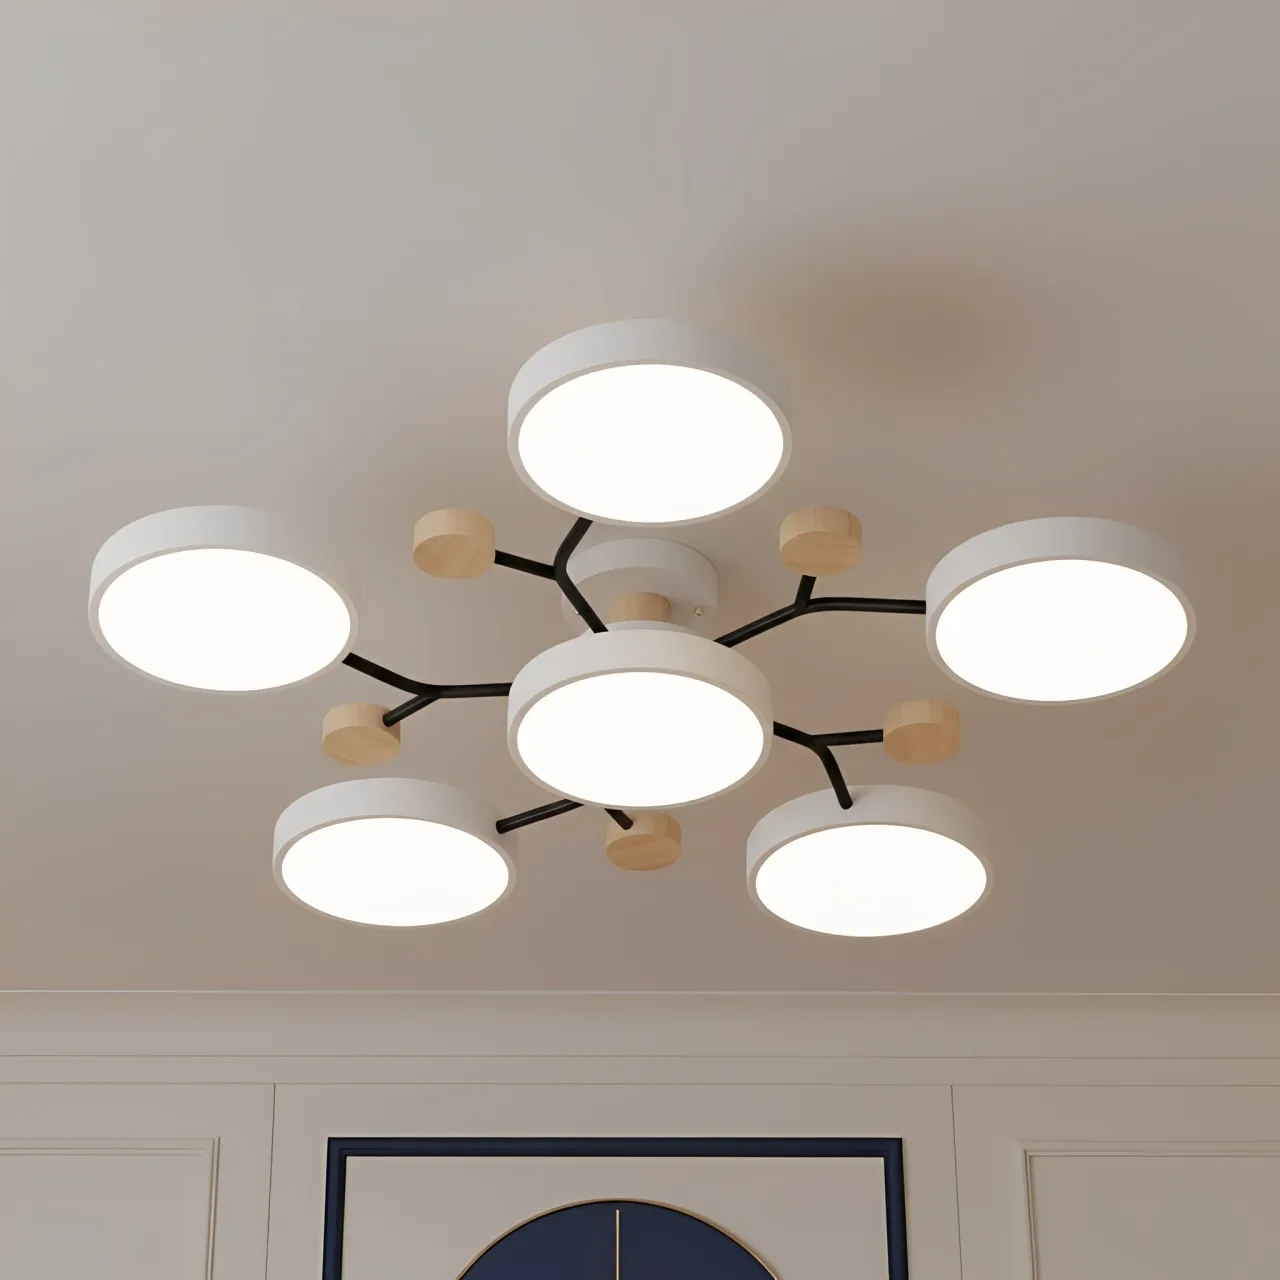
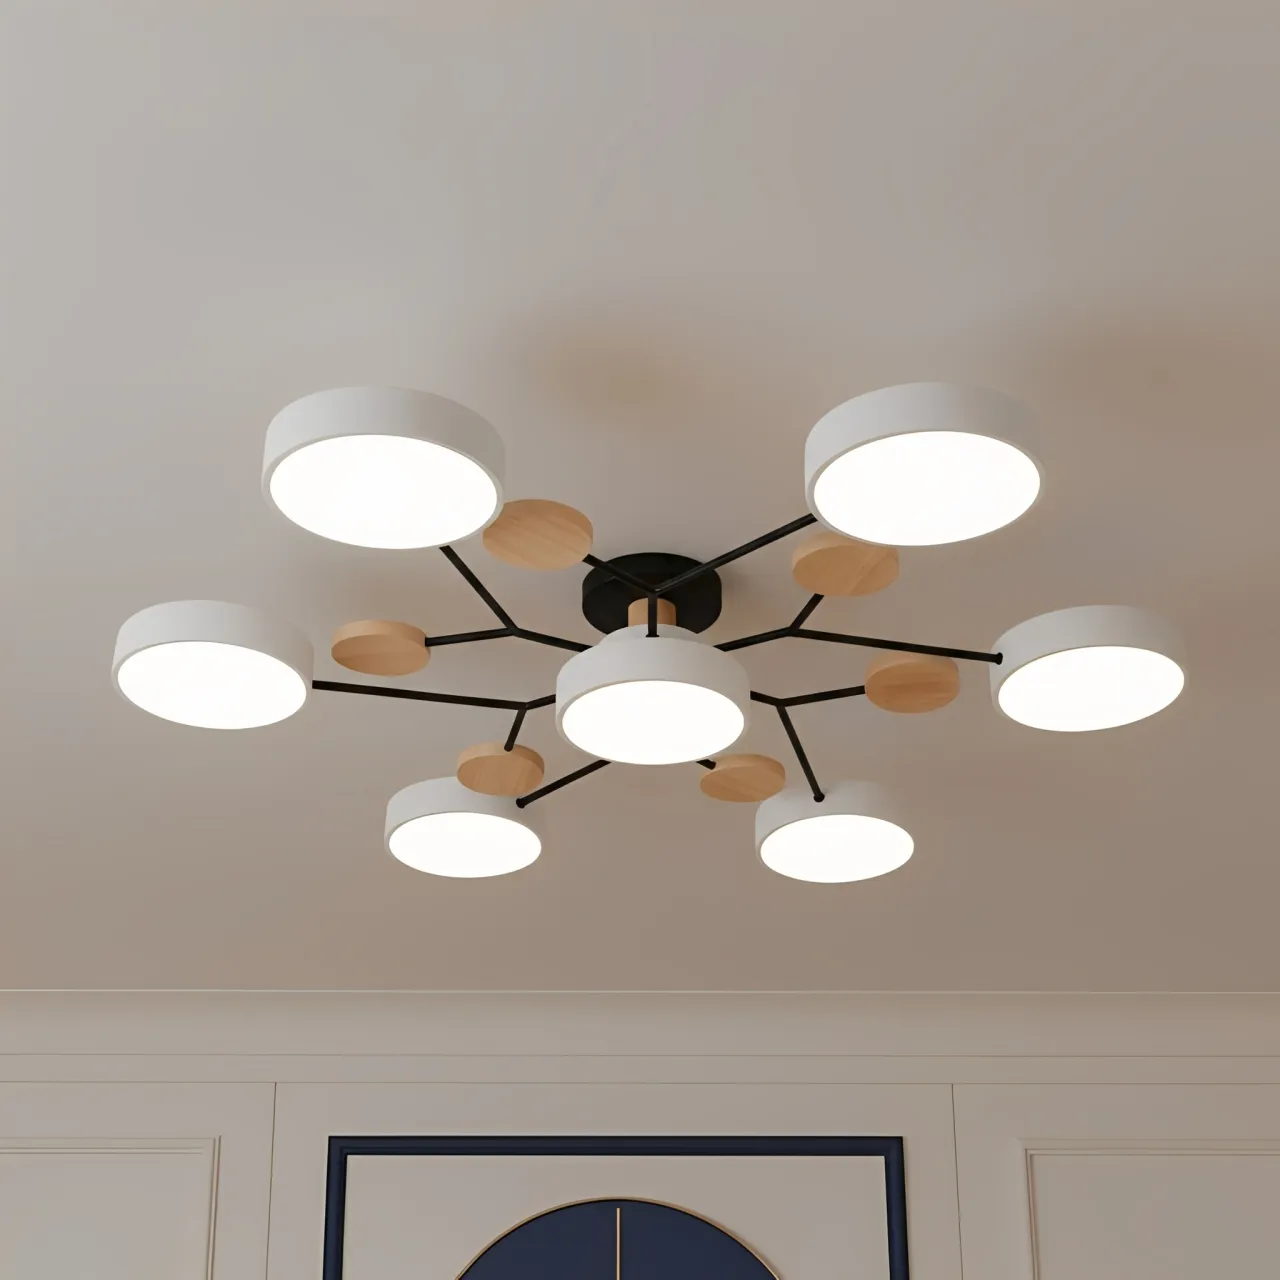
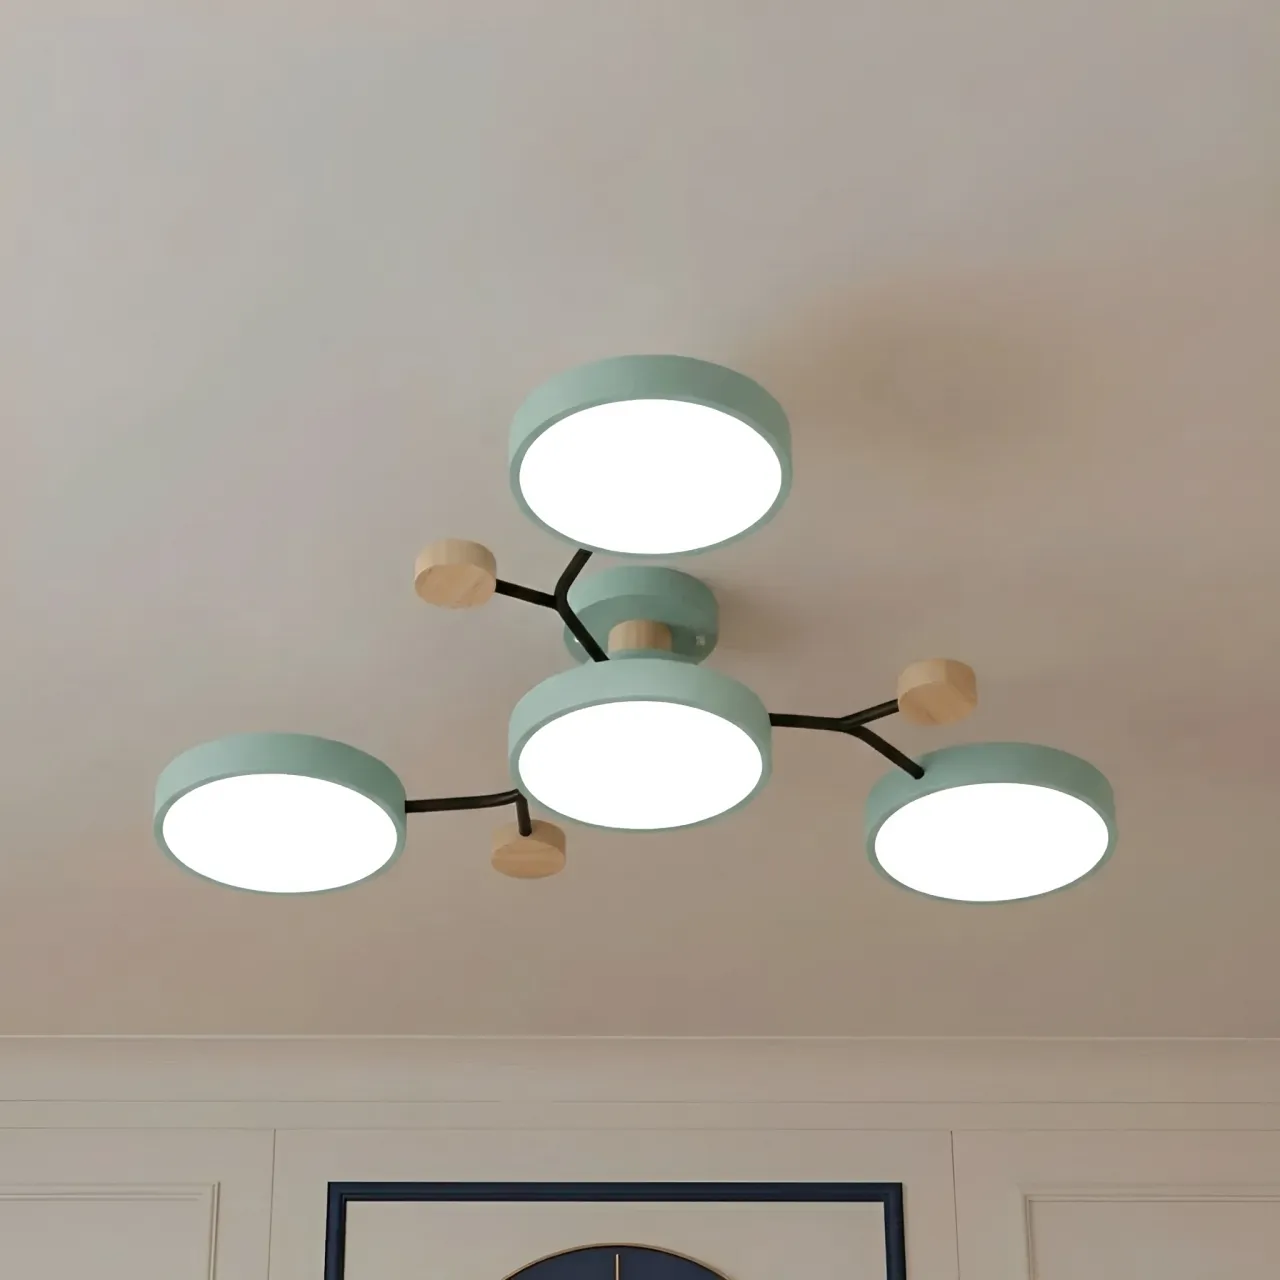
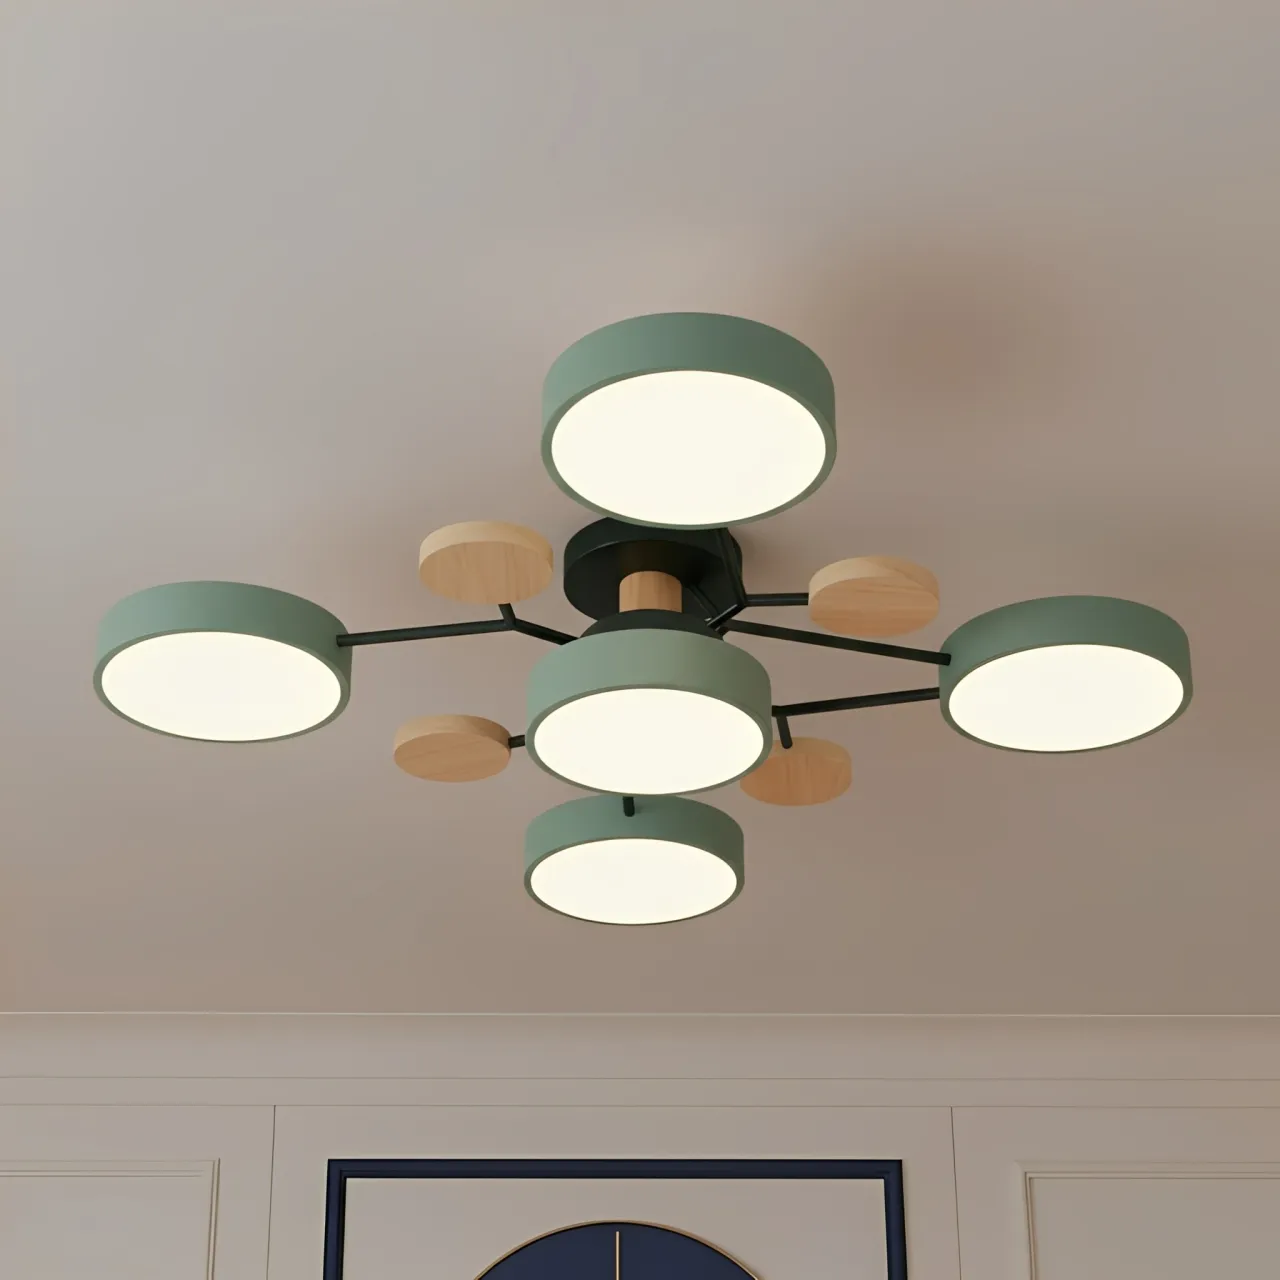
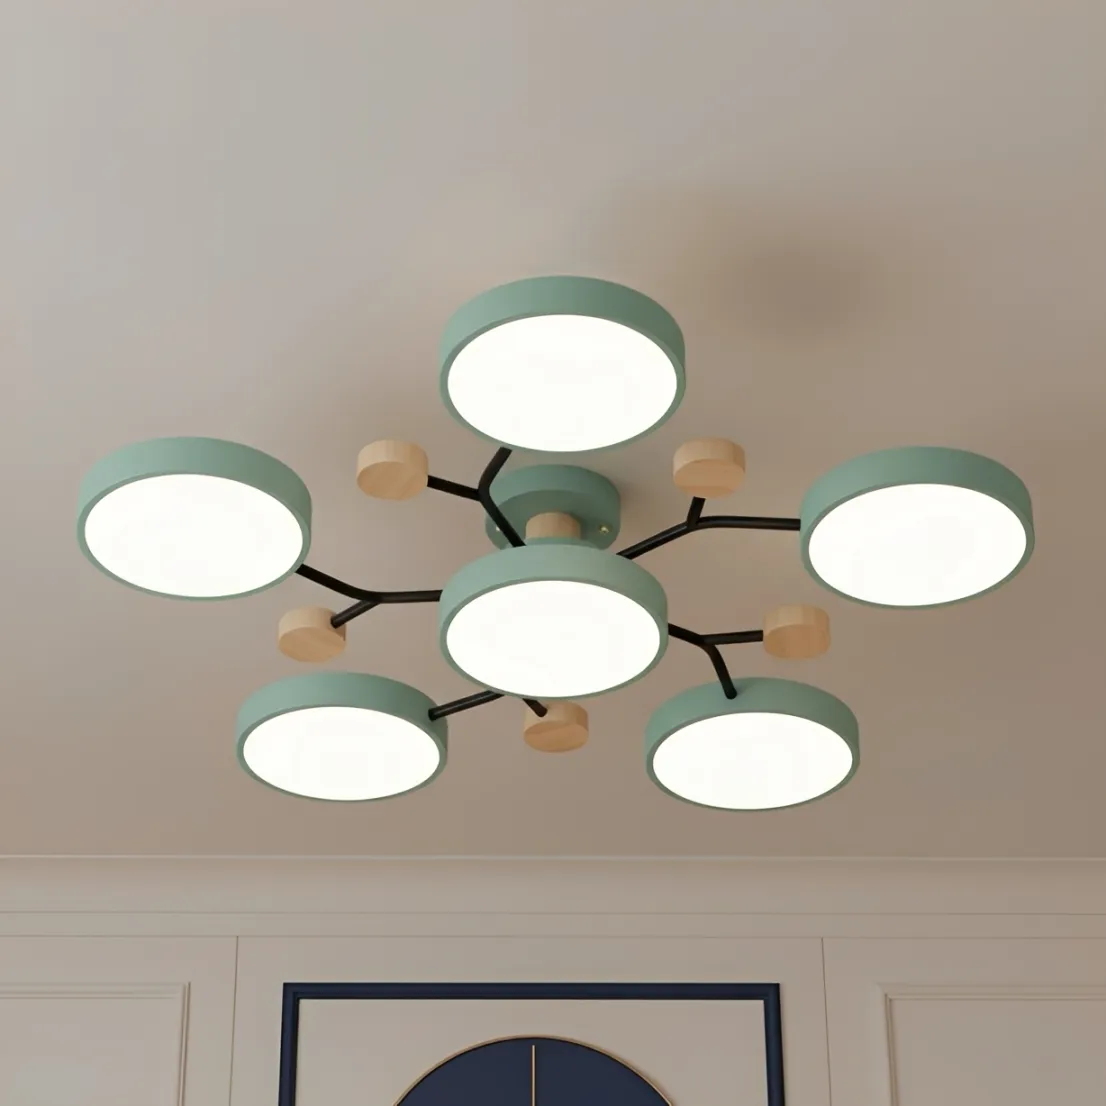
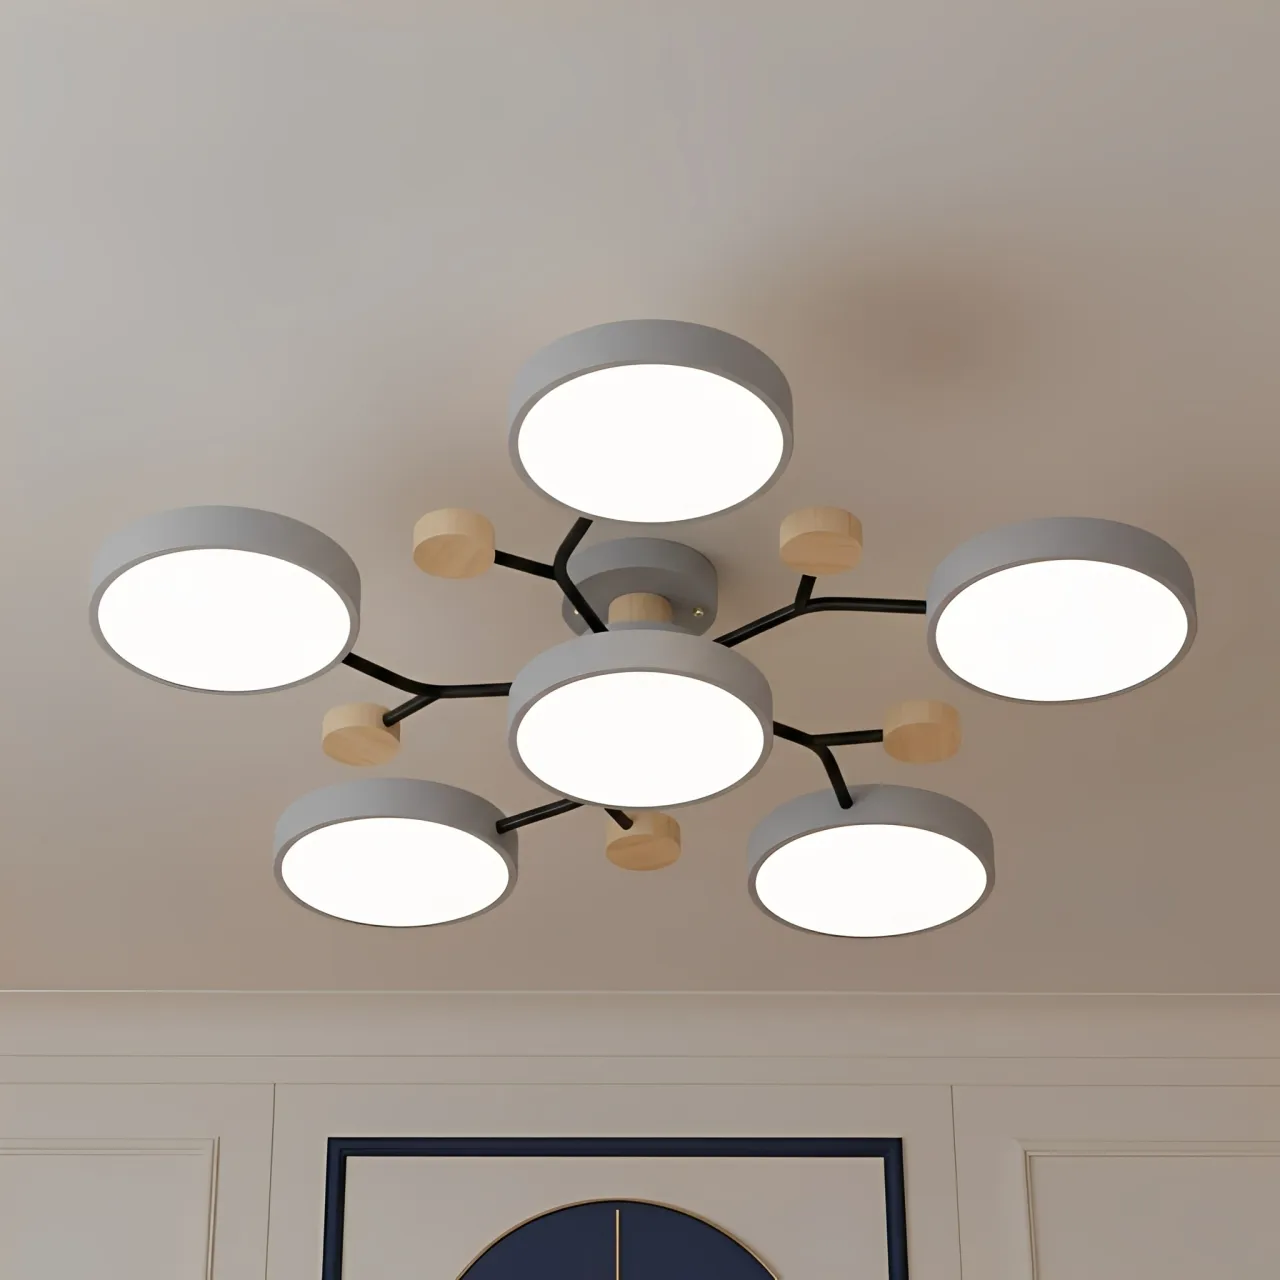
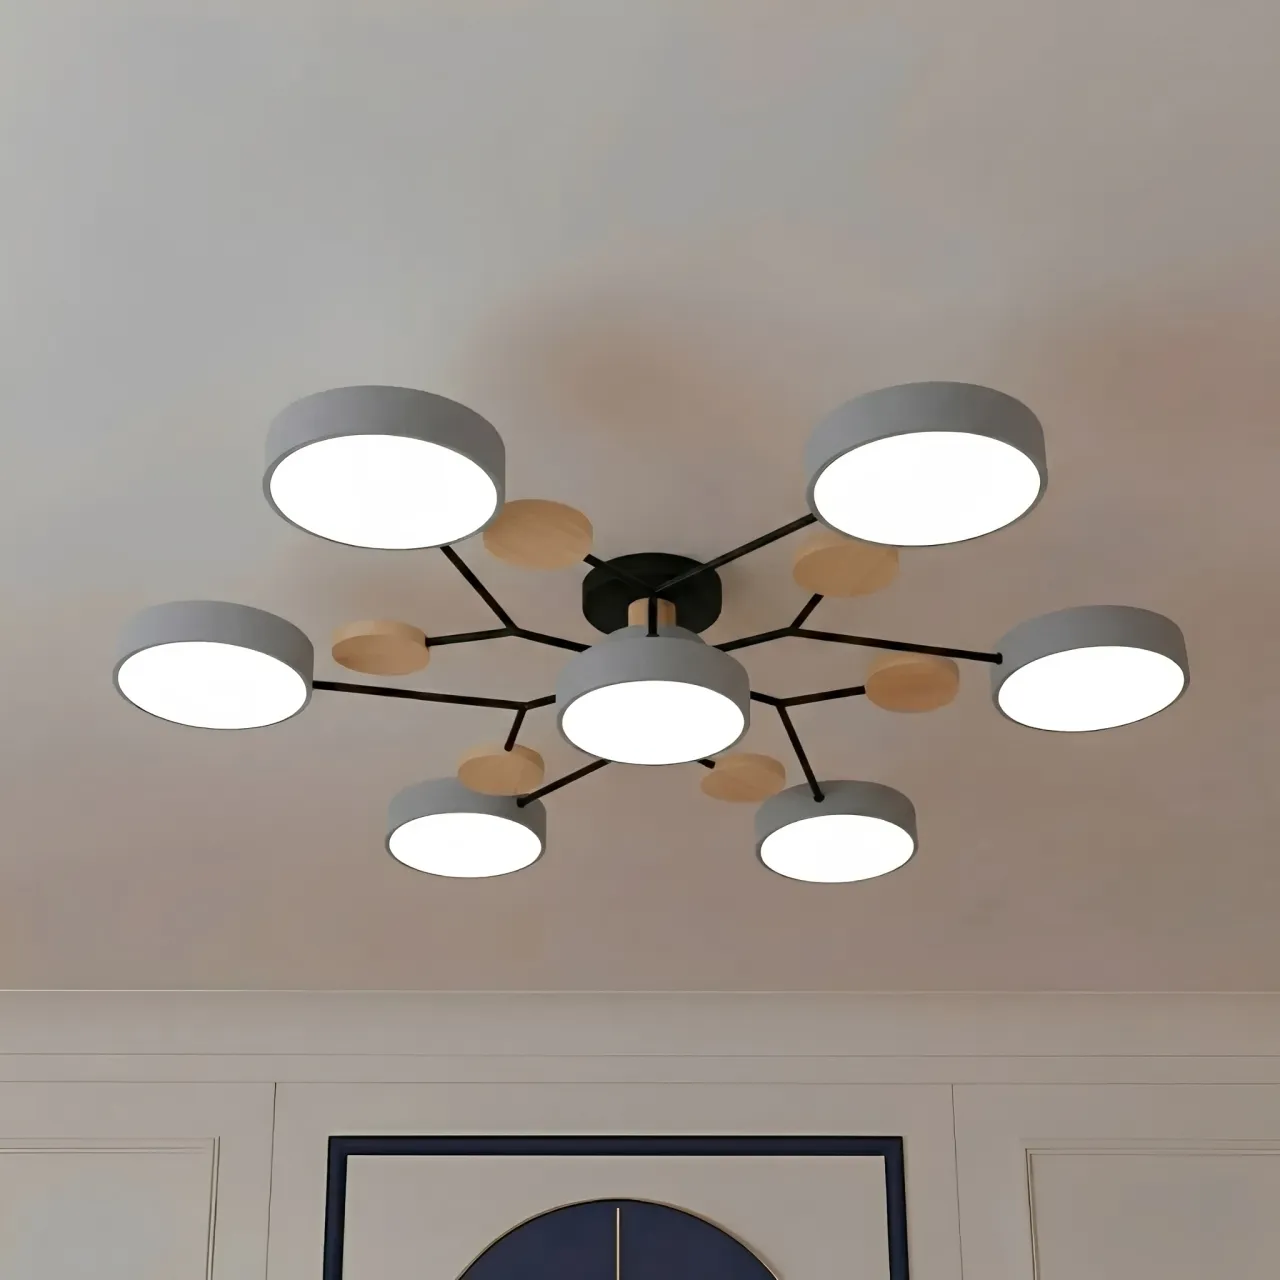
If you are looking for the ultimate foundational fixture to anchor your newly layered lighting plan, we strongly recommend the Orea Nordic Minimalist Modern Round Wooden LED Ceiling Light for Living Room.
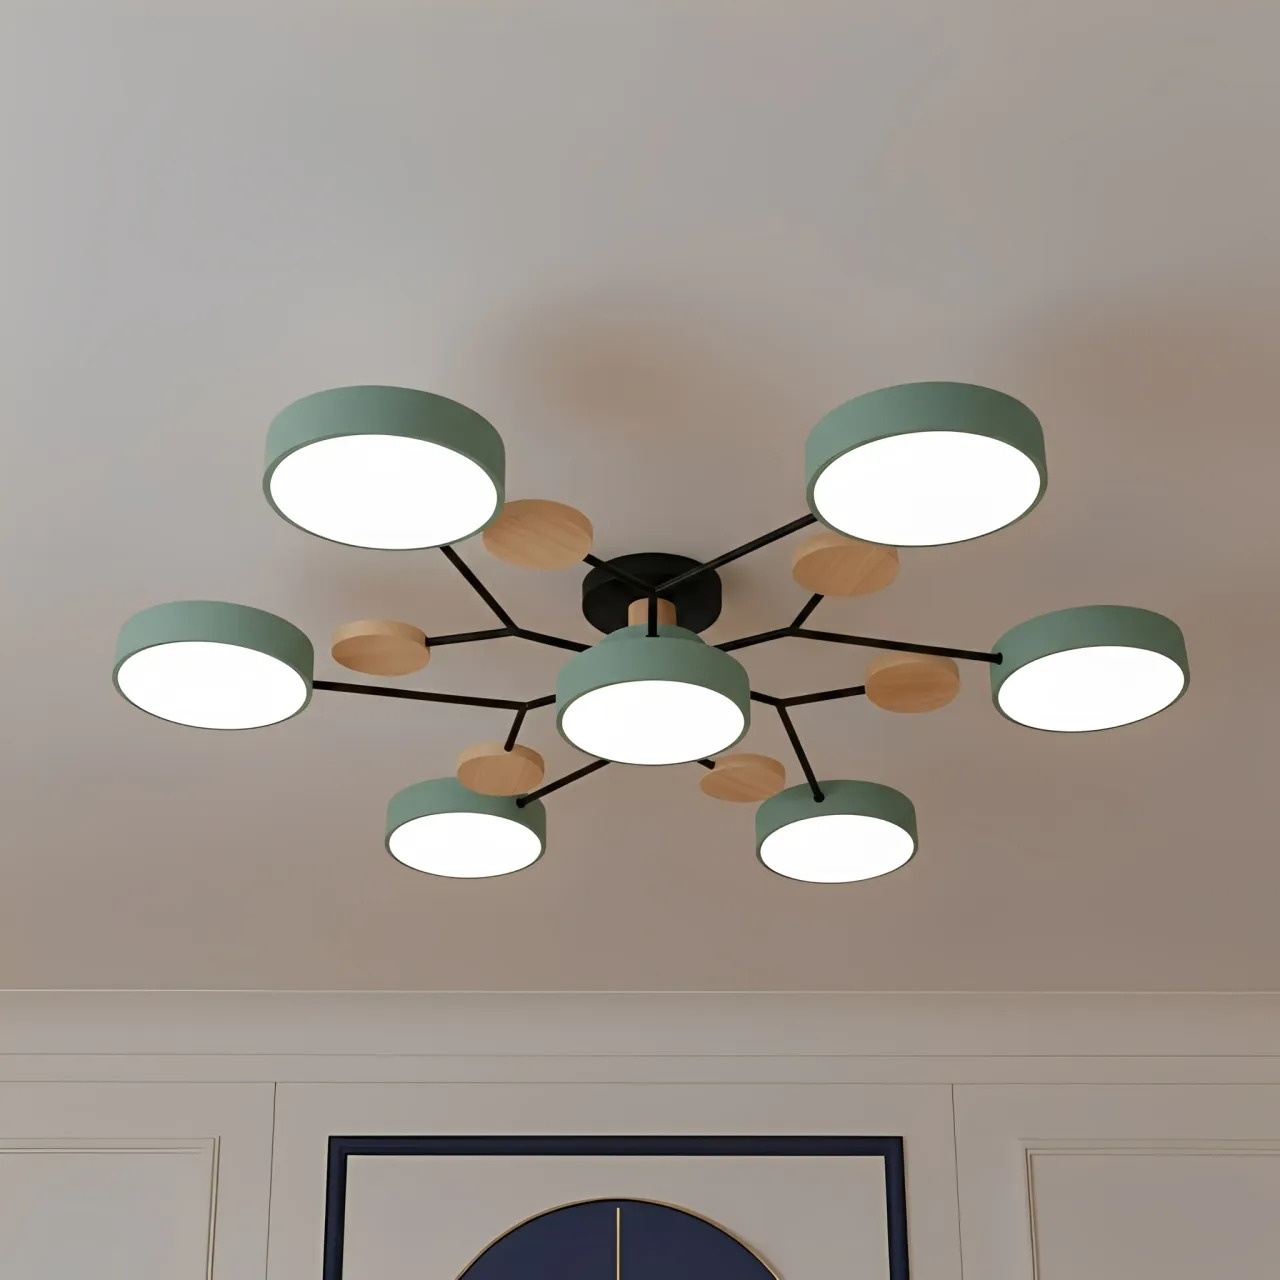
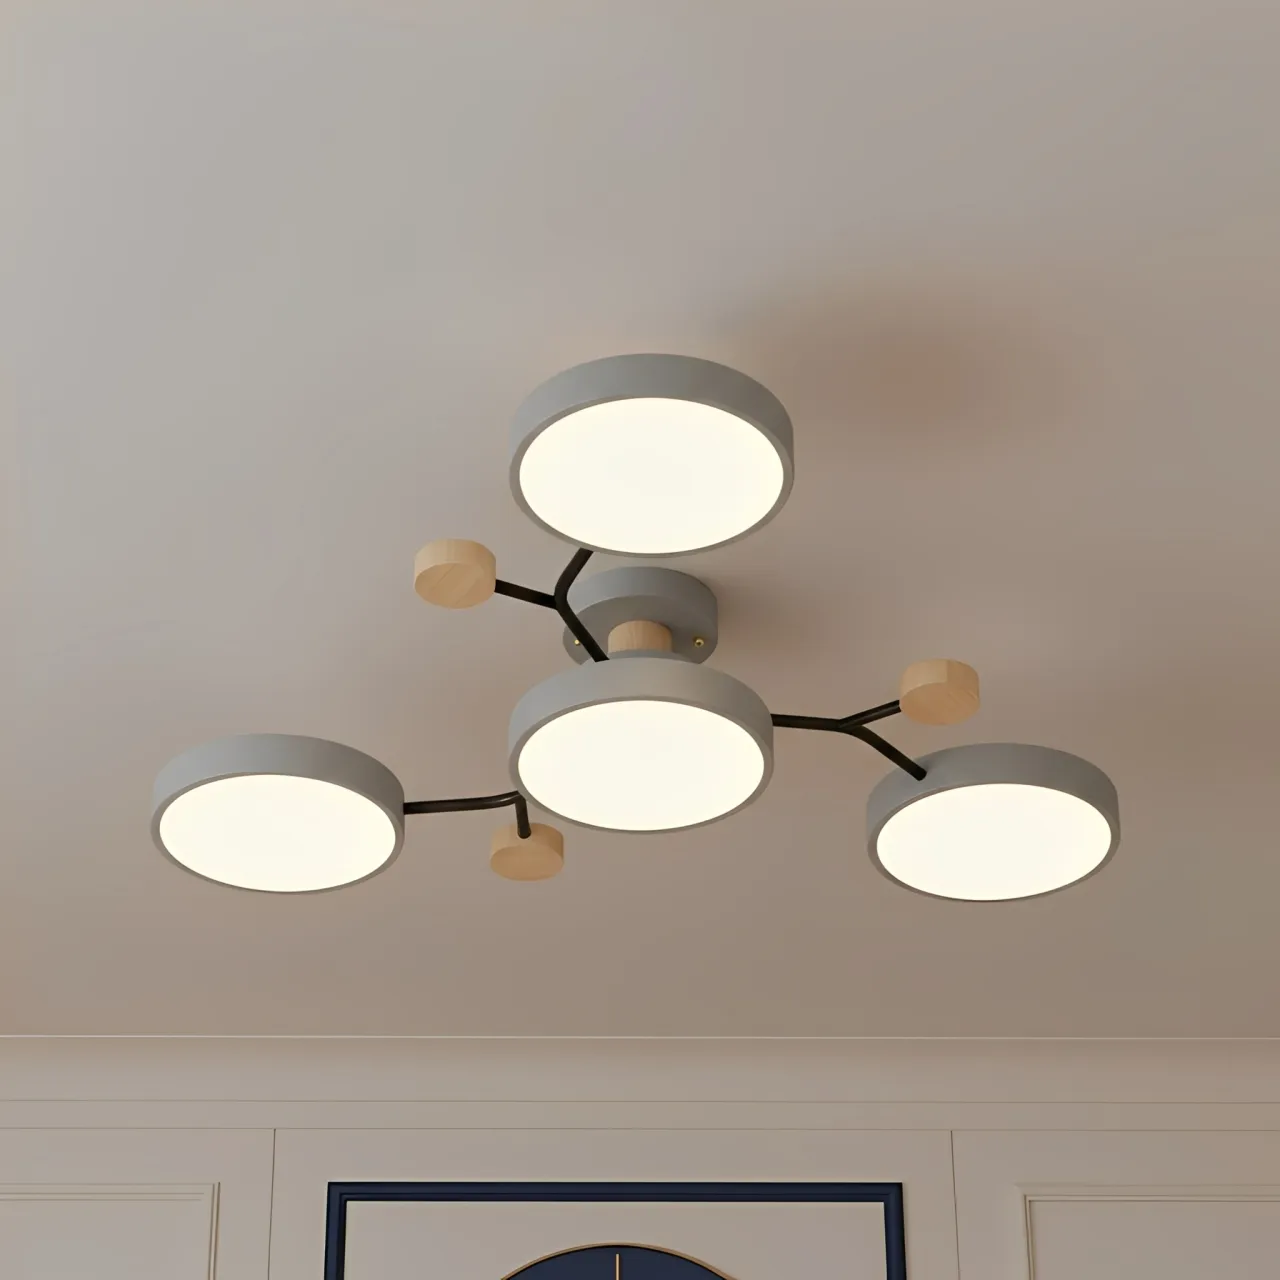
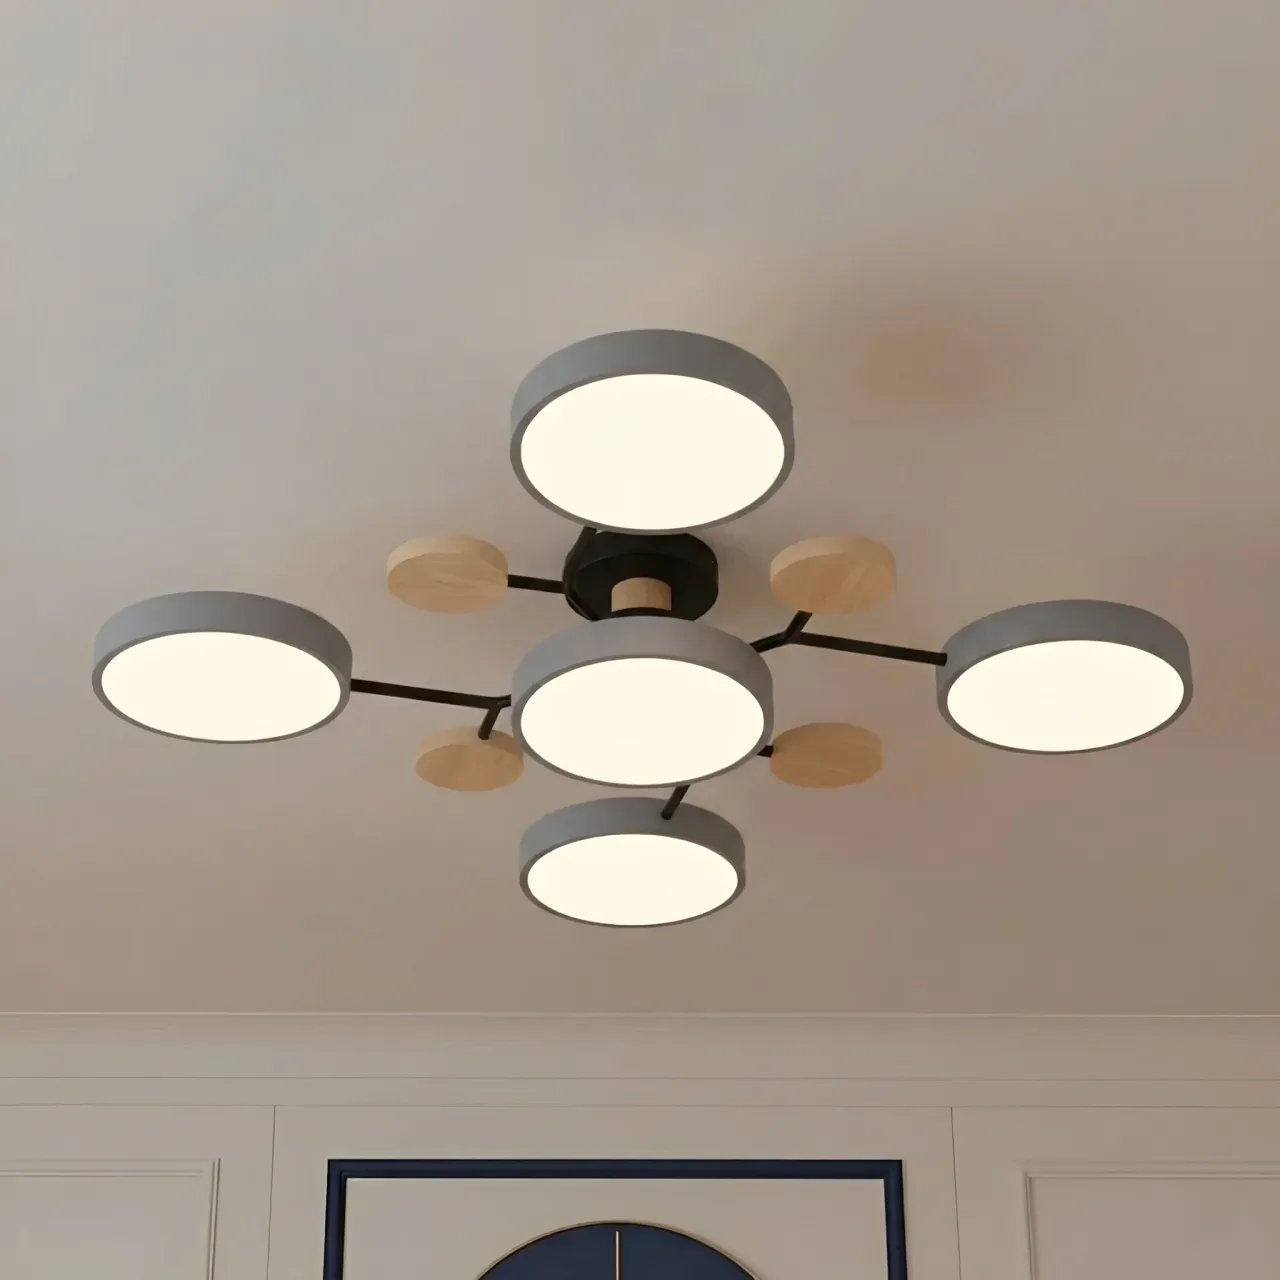
This fixture practically acts as a masterclass in Nordic lighting design. Instead of a single blinding dome, its "molecule branch" design distributes 4 to 7 separate light heads across the ceiling, providing exceptionally even, wide-spread ambient coverage. It features natural wood accents that bring organic warmth to a space, paired beautifully with smooth macaron-colored finishes (available in Green, White, and Gray). Most importantly, at an ultra-thin height of just 15 cm, it seamlessly integrates into standard ceiling heights (2.4 m - 2.8 m) without causing any visual obstruction, making it the perfect centerpiece to build your task and accent lighting around.
Browse our lighting collections to find matching matte iron or natural wood floor lamps to pair with your new Orea centerpiece, ensuring your layered lighting design is flawless from ceiling to floor.
FAQ: Fast Answers for Your Lighting Setup
Q: My ceiling is only 2.4 meters high. Can I really install the large 95 cm 7-head Orea light without it looking oppressive?
A: Absolutely. Because the height of the Orea ceiling light is strictly fixed at 15 cm, it installs flush against the ceiling. It will not eat into your vertical clearance at all. In fact, the wide 95 cm branching design draws the eye horizontally across the ceiling, creating an optical illusion that makes your room feel wider and more expansive.
Q: If I buy the 84W main LED light, it is going to be incredibly bright. Do I still actually need secondary floor lamps?
A: Yes. While 84W is more than enough to fully illuminate your room for cleaning or gathering, it is too intense for relaxing. When you are watching TV at night or having a quiet conversation, glaring overhead light causes eye strain. You will want to turn off the 84W ceiling light entirely and rely purely on a 9W floor lamp to create a soft, eye-level glow. Layering gives you flexibility for different moods.